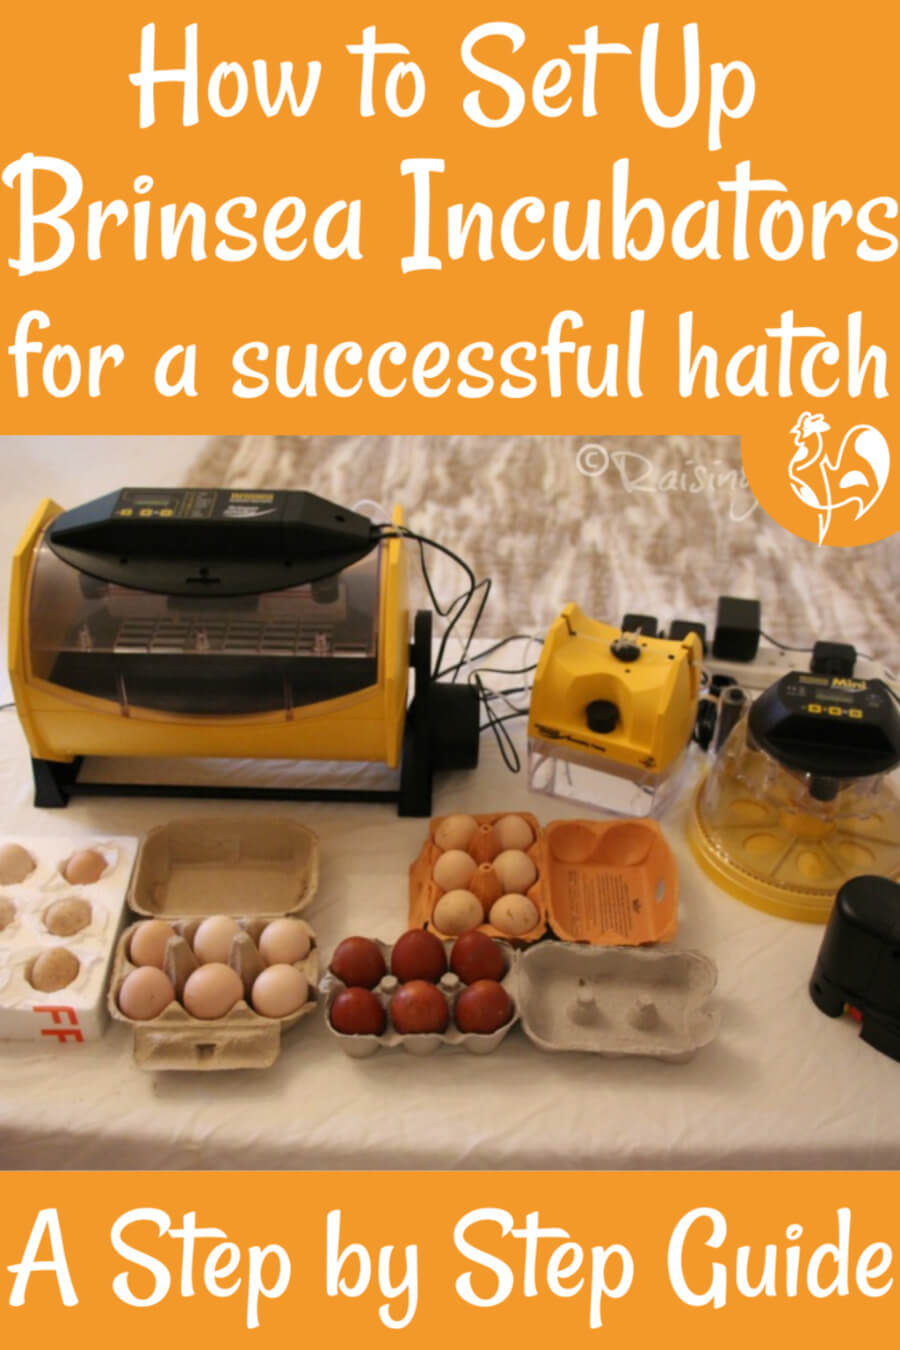
If you are looking to get into chicken husbandry and have your own brood of chickens, learning how to set eggs in an incubator is a great starting point. In this article, we will outline the steps you need to take to ensure that your eggs are set up correctly in an incubator for the best chance of success. We will cover temperature, humidity, and turning the eggs, as well as some tips to keep in mind throughout the incubation process. With the right knowledge and preparation, you will be well on your way to enjoying the rewards of successful chicken husbandry.
Preparation for Incubation
Selecting Appropriate Eggs
When selecting eggs to incubate, it is important to choose ones that are healthy and have the best chance of hatching. Look for eggs that are clean, free of cracks and blemishes, and have a firm shell. Eggs that are misshapen or have a soft shell should be discarded.
Cleaning the Incubator
Before setting eggs in the incubator, it is important to clean the device. Remove any debris and dirt from the interior and wipe down the surfaces. Make sure the temperature and humidity settings are accurate and functioning properly. It is also important to check the incubator’s turning mechanism to ensure it is running smoothly.
Setting the Eggs in the Incubator
Placing Eggs in the Trays
The first step in successfully hatching eggs in an incubator is to place the eggs in the trays. Carefully place the eggs in the tray, making sure the pointy end faces down. This will ensure the air cell at the top of the egg is in the correct position. After placing the eggs in the trays, close the incubator lid.
Turning the Eggs
It is important to turn the eggs several times a day, to ensure that the embryo inside the egg is able to develop correctly. Manual incubators will require the eggs to be turned manually, usually every 12 hours. Automatic incubators will turn the eggs for you, so there’s no need to worry about this step.
To ensure the best possible chances of successful chicken husbandry, it is essential to follow these steps for how to put eggs in an incubator correctly. With the correct preparation and care, you should be able to successfully hatch chickens from your eggs.
Maintaining the Incubator

Monitoring the Temperature
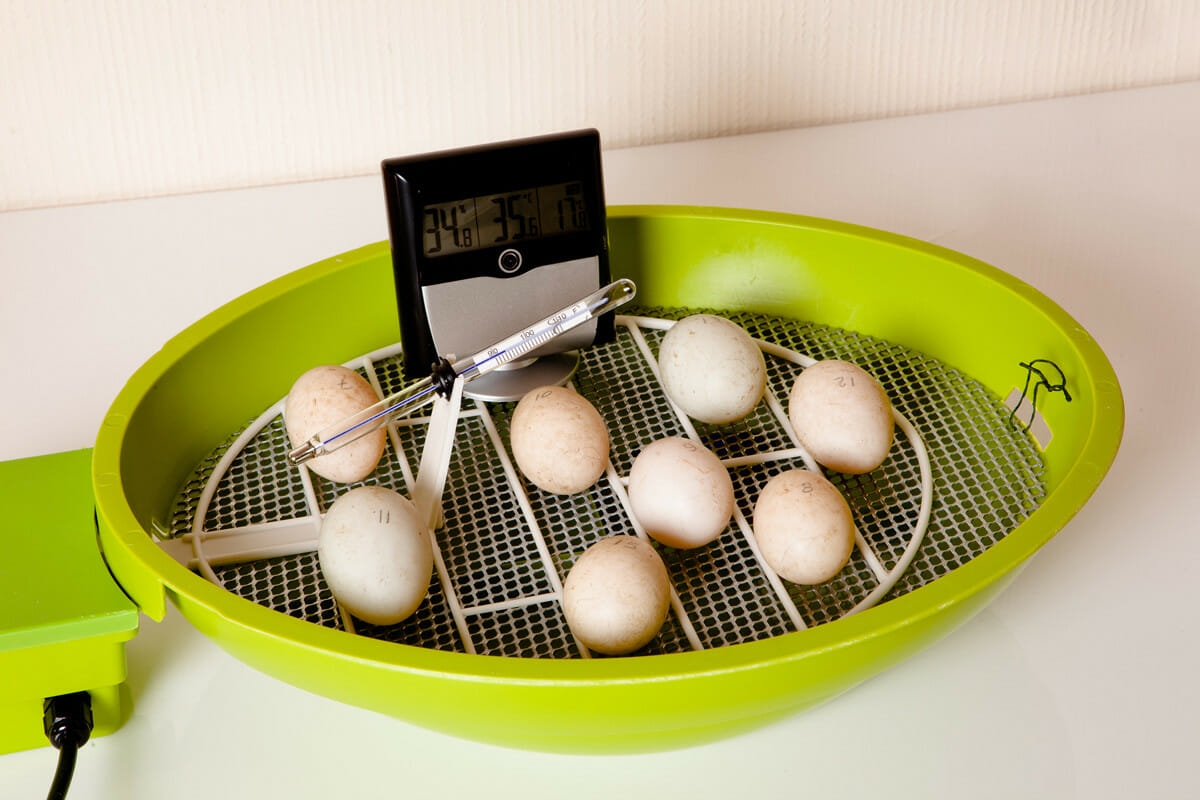
It is important to keep the temperature in the incubator stable for successful chicken husbandry. The ideal temperature is usually around 37.2-37.5°C. To monitor the temperature, use a dedicated thermometer to measure the temperature inside the incubator.
Adjusting the Humidity
The humidity in the incubator will affect the development of the embryos. Use a hygrometer to measure the humidity inside the incubator and adjust the humidity accordingly. The ideal humidity is around 40-50%.
Reducing Vibration
Vibration can interfere with the development of the embryos. To reduce vibration, make sure the incubator is placed on a solid, level surface. Consider putting the incubator on a piece of foam or rubber mat to further reduce vibration.
When it comes to how to place eggs in incubator, the eggs should be placed with the pointed end facing downwards. Make sure that the eggs are placed securely in the incubator to prevent them from rolling around.
Candling the Eggs
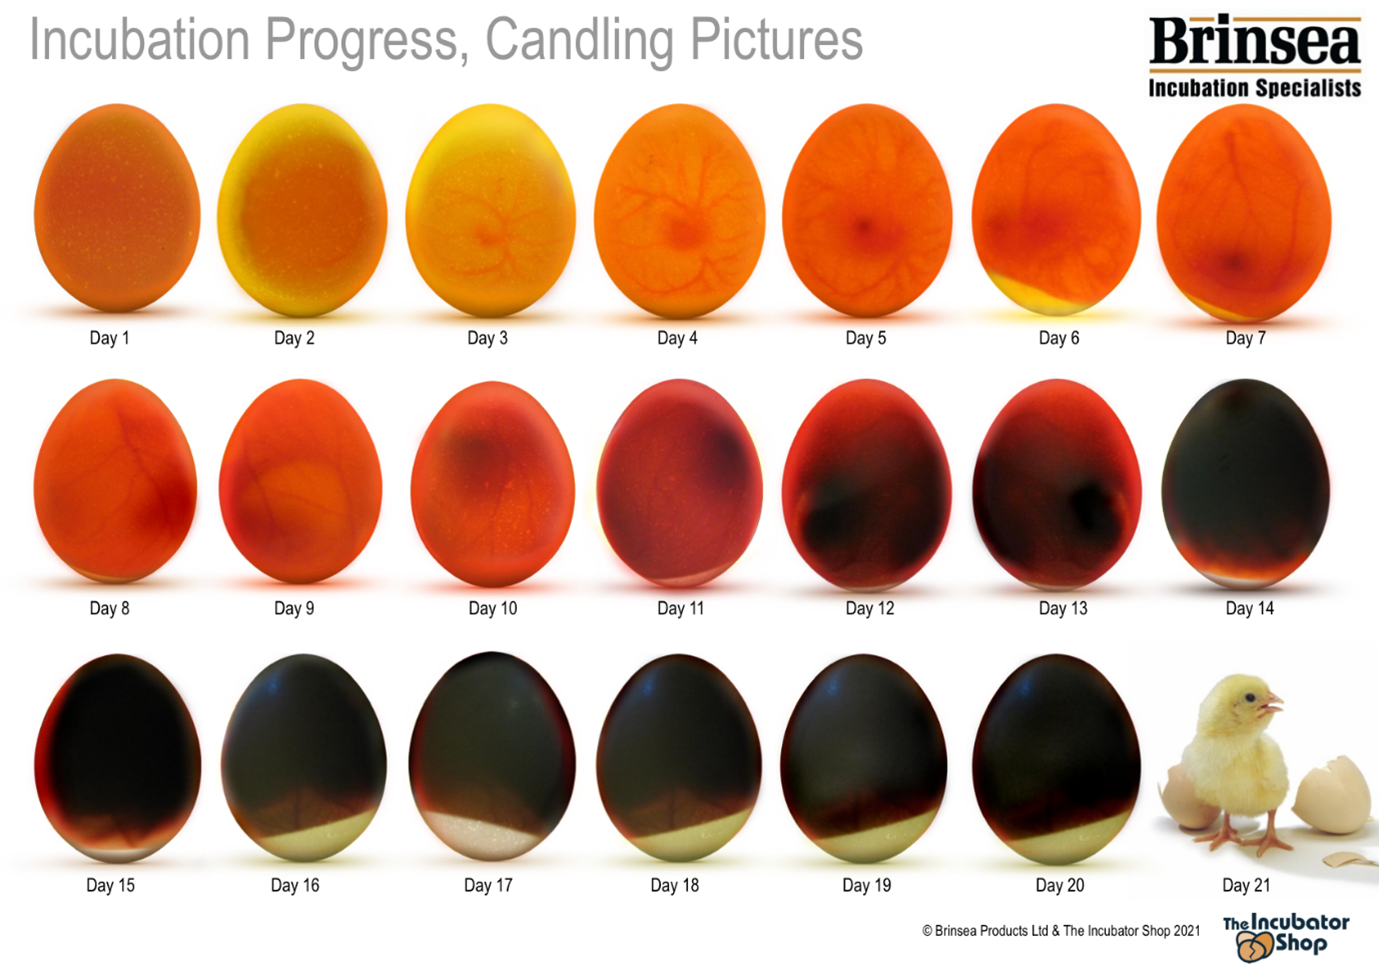
It is important to candle the eggs before setting them in an incubator to check for any cracks, air cells, and other issues. Candling is a process of shining a bright light through the egg, allowing you to see the contents of the egg and inspect it for any abnormalities. When candling, you are looking for any visible cracks in the egg shell, a large air cell, or any discoloration.
If a cracked egg is found, it should be discarded as it is unlikely to hatch. If the air cell is too large, it can indicate the egg is too old and should be discarded as well. Lastly, any discoloration can indicate a bacterial infection and those eggs should be discarded.
Once the eggs have been candled, they can be placed in the incubator. If candling is done correctly, your chances of successfully hatching chicks are much higher.
Hatching the Eggs
Once the eggs have been set in the incubator and the temperature and humidity have been maintained, the eggs must be monitored closely in order to ensure a successful hatch. The eggs should be turned at least three times daily, and the incubator temperature should be adjusted as necessary to maintain a consistent level. During the last three days of incubation, the eggs should not be turned, and the temperature should not be adjusted.
Candling is a process of using a bright light to inspect the contents of the eggs. This should be done about 5-7 days into the incubation period. Candling will allow you to determine if the eggs are fertilized and viable, and if embryos are developing correctly. If any eggs are not developing correctly, they should be removed from the incubator.
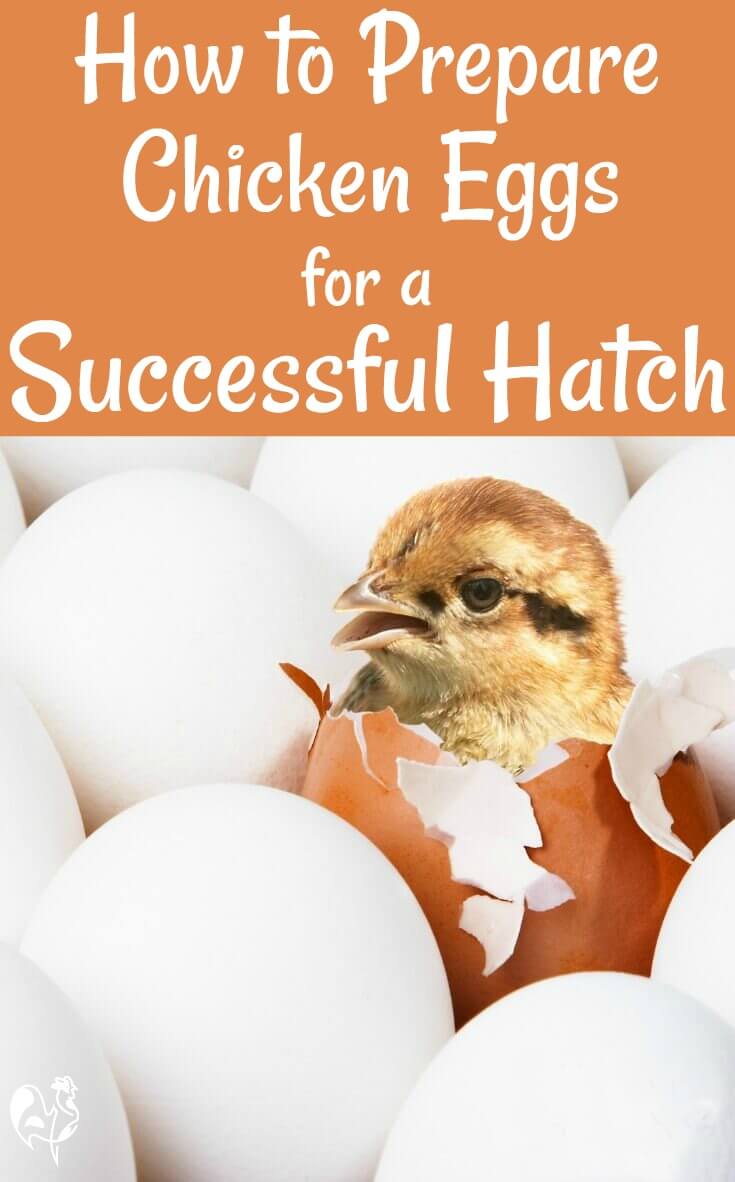
Hatching typically begins around 21 days after the eggs have been set. The chicks will begin to peck a small hole in the eggshell, and then break through the shell entirely. The chicks will remain in the eggshell for up to 24 hours, and should not be disturbed during this time. Once the chicks have fully hatched, they can be removed from the incubator.
Aftercare is key to ensuring the health of the chicks. The chicks should be moved to a brooder, which is a warm and safe environment designed to give the chicks the best possible start. This should be done within 24 hours of hatching. The chicks should be monitored closely, and their diet should include a high-quality chick starter feed.
Caring for the Chicks
Temperature: It is important to maintain the temperature in the incubator at the correct level to ensure that the chicks grow healthy and strong. The temperature should be kept at between 99-101°F (37.2-38.3°C).
Humidity: The humidity should be kept at between 40-50% during incubation. This helps to ensure that the chicks are able to hatch properly and that their feathers remain in good condition after hatching.
Ventilation: The incubator should be well ventilated to ensure that the chicks are provided with fresh air. This will help to prevent them from getting too hot or too cold.
Nutrition: Once the chicks have hatched, they should be provided with a high-quality, balanced diet. This should include a variety of proteins, vitamins, minerals, and other nutrients.
Handling: The chicks should be handled with care and respect. This will help them to become accustomed to human contact and will make them more comfortable when being handled in the future.
Lighting: The chicks should be provided with a source of light during the day. This will help to ensure that they are able to find food and water easily, as well as helping to regulate their body temperature.
Health Monitoring: The chicks should be monitored for any signs of illness or injury. If any problems are detected, the chicks should be treated immediately to ensure that they remain healthy and happy.
Cleanliness: The chicks should be kept in a clean environment. This means that their enclosure should be cleaned regularly and any waste should be removed as soon as possible.
| Factor | Value |
|---|---|
| Temperature | 99-101°F (37.2-38.3°C) |
| Humidity | 40-50% |
| Ventilation | Well-ventilated |
| Nutrition | High-quality, balanced |
| Handling | With care and respect |
| Lighting | Provided during the day |
| Health Monitoring | Regularly monitored |
| Cleanliness | Clean environment |
Frequently Asked Questions
What type of incubator should I use to set eggs for successful chicken husbandry?
For successful chicken husbandry, you need to use an incubator that is specifically made for hatching eggs. The incubator should have a fan and temperature control system to regulate the temperature and humidity levels and ensure that the eggs are kept at the right temperature for a successful hatching. Additionally, the incubator should be able to hold a large number of eggs to ensure that your chicks are hatched in a timely manner. Finally, you should also look for an incubator that is easy to use and maintain.
How Often Should I Turn The Eggs During Incubation?
Eggs should be turned several times a day to ensure even warmth and air circulation. Turning should begin when the eggs are placed in the incubator and continue until the last few days before hatching. During the last three days of incubation, the eggs should remain undisturbed to give the chicks time to properly position themselves for hatching.
How Long Does it Take for the Eggs to Hatch?
The incubation period for chicken eggs is 21 days. It is important to provide the correct environment and temperature during the incubation period in order to ensure successful hatching. Here is a checklist of how long it takes for eggs to hatch:
- Day 0: Place eggs in an incubator and set the temperature to 37.7°C (99.9°F).
- Day 3: Eggs should start to show signs of development.
- Day 14: The embryos should be fully developed.
- Day 18: The chicks will start to pip (break out of the shell).
- Day 21: Eggs should hatch.
It is important to check the eggs regularly during the incubation period to ensure that the temperature is correct and that the eggs are not overheating. If any eggs become overheated, they should be removed and discarded.
How do I Know When the Eggs are Ready to be Transferred to a Brooder?
When the eggs have reached the end of the incubation period, they should be tested to ensure that they are ready to be transferred to a brooder. This can be done by weighing the eggs to ensure that they have lost the recommended amount of weight, or by testing for air cells. A floating egg test, where the egg is placed in a bowl of water and the air cell size is determined by whether the egg floats or sinks, can be used to determine if the egg is ready for transfer. If the egg sinks, it should be incubated for longer.
What Temperature and Humidity Levels Should I Maintain in the Incubator?
Temperature: For successful chicken husbandry, it is important to maintain an incubator temperature of 99.5 – 100.5 °F (37.5 – 38 °C).
Humidity:
- For the first 18 days, the humidity level should be maintained between 40 – 50%.
- For days 19 – 21, the humidity level should be increased to between 60 – 70%.
- For the last 3 days, the humidity level should be raised to between 75 – 85%.
It is important to monitor the temperature and humidity levels regularly, as a lower or higher level of either can lead to poor hatch rate.
Conclusion
Setting eggs in an incubator for successful chicken husbandry requires careful preparation and monitoring, as well as understanding the needs of the eggs and chickens. The temperature, humidity, air flow, and turning of the eggs are all essential for successful hatching and should be regulated to ensure the best possible outcome. With proper care and attention, a successful hatch rate can be achieved.