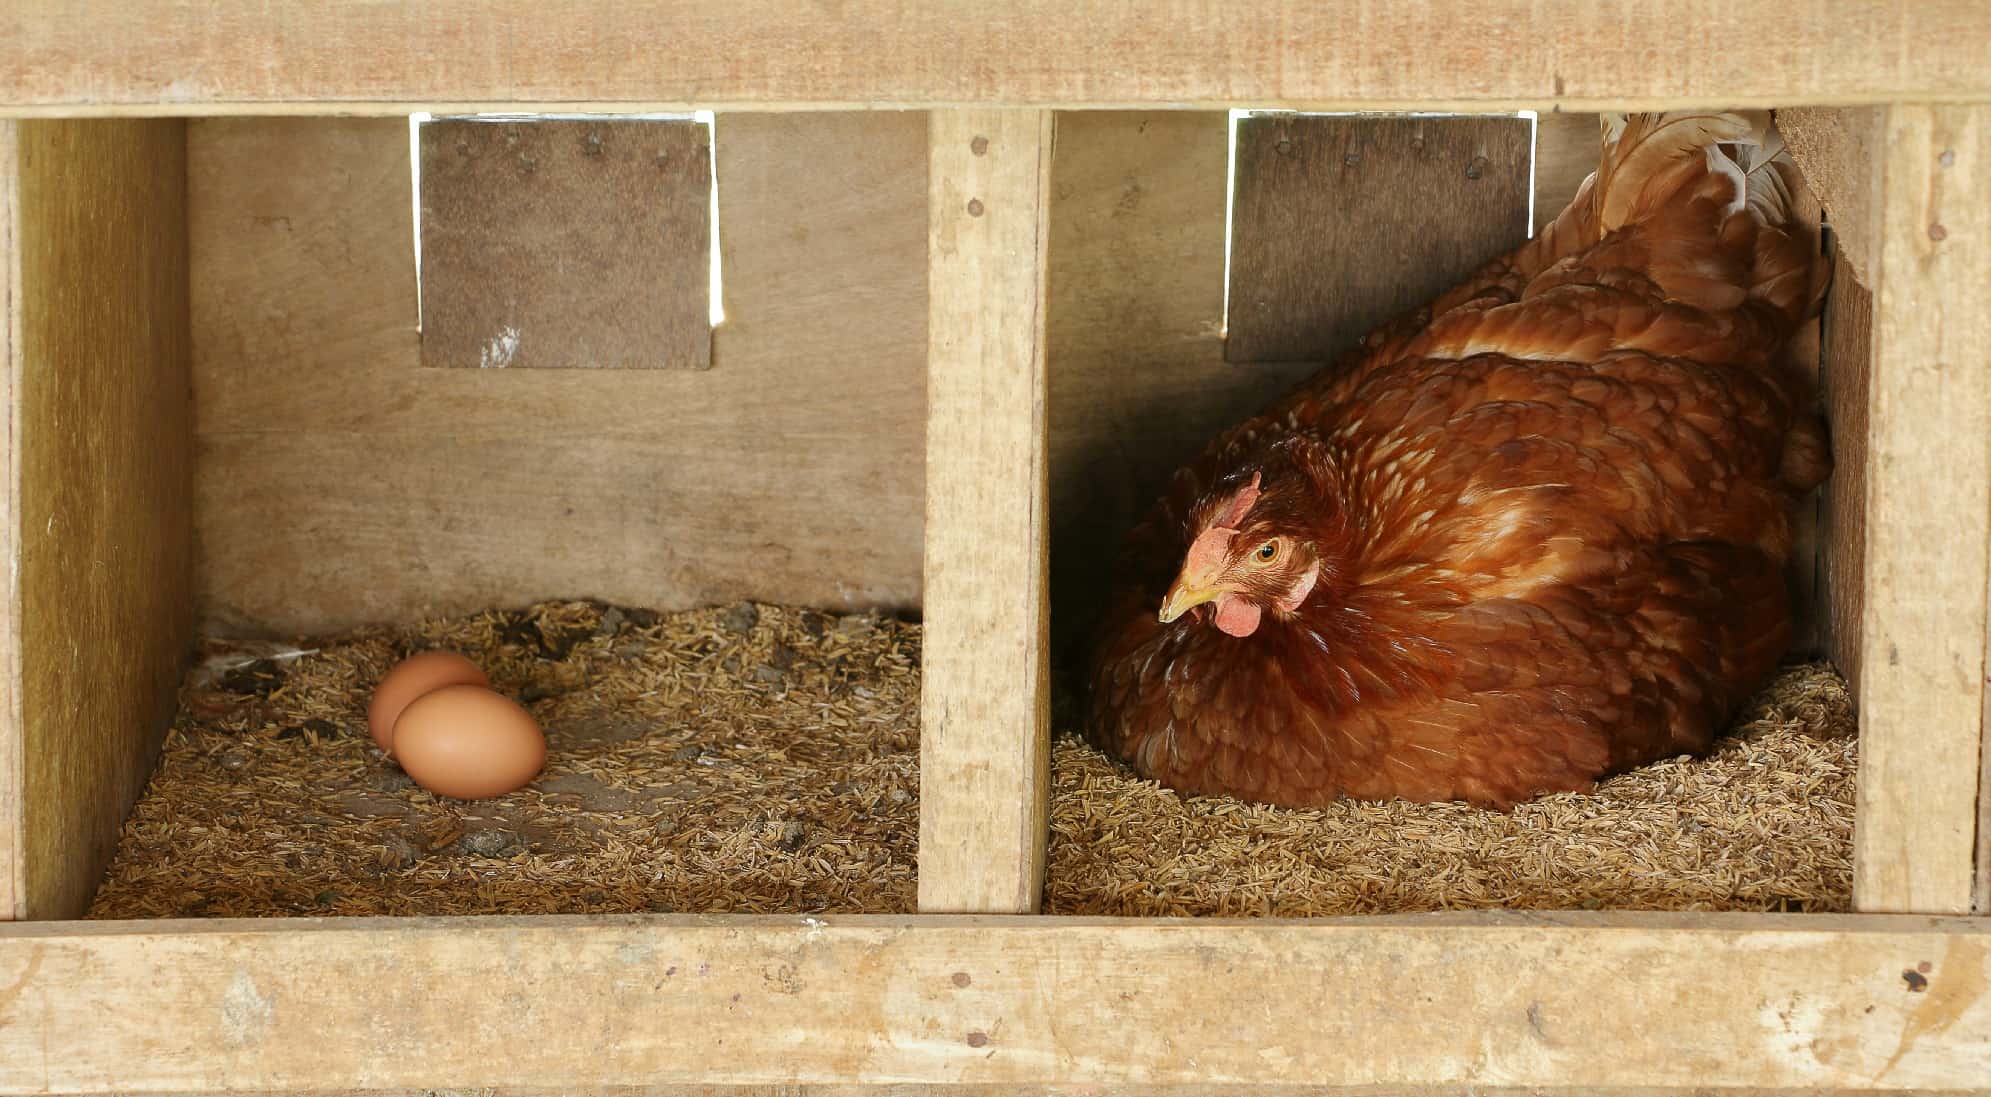
If you’re looking for a step-by-step guide on how to make nest boxes for chicken husbandry, you’ve come to the right place. This guide will provide detailed instructions on how to build nest boxes for your chickens, so you can provide them with the best possible environment for laying eggs. We’ll go over everything you need to know, including the materials you’ll need, the tools and supplies, and the steps you need to follow. With this guide, you’ll be able to build nest boxes quickly and easily, providing your chickens with a comfortable and safe environment for laying eggs.
Materials Needed
| Quantity | Item |
|---|---|
| 1 | Plywood (1/2 or 3/4 inch thick) |
| 1 | Crow bar |
| 2 | Screws |
| 1 | Hammer |
| 1 | Drill |
| 1 | 2×4 Lumber (or scrap wood) |
| 1 | Poultry Netting |
| 1 | Nails |
| 1 | Shovel |
This is the list of materials needed to build a DIY nesting box for chickens. Make sure to have all the items ready before beginning the project.
Step-by-Step Instructions
Gathering Materials
When making DIY nesting boxes for chickens, you will need a few essential materials. Start by gathering the following items: sheet of plywood, saw, screws, hinges, and paint.
Designing & Cutting the Nest Box
You will need to decide what size nesting box you would like to create. Once you have made your decision, use the saw to cut out the plywood accordingly.
Assembling the Nest Box
Now it’s time to start assembling the nest box. Securely attach the hinges to the back of the plywood. Then, use the screws to hold the nesting box together.
Adding Finishing Touches
To make the nesting box look more attractive, you can add a few finishing touches. Paint the nesting box with the color of your choice and add a few decorations. You can also add drainage holes on the bottom to ensure that the nesting box stays dry.
Safety Tips
| Activity | Tips |
|---|---|
| Measuring and Sawing | Wear safety goggles and gloves to protect your eyes and hands from wood chips. |
| Nailing and Drilling | Use a dust mask and earplugs when nailing and drilling to protect your lungs and ears from debris and loud noise. |
| Setting Up the Boxes | Be aware of electric wires and other hazards when setting up the boxes. |
| Cleaning and Maintenance | Always wear protective gear when cleaning and maintaining your boxes. |
Cleaning & Maintenance
- Regularly clean the nesting box. To ensure a healthy environment for your chickens, it is important to regularly clean the nesting boxes. Cleaning should be done every month or two with a solution of 1/4 cup of bleach for every gallon of water. When cleaning, make sure to remove any accumulated dirt, feathers, and eggs.
- Maintain the nesting box. In addition to regular cleaning, the nesting box should be inspected for any damage or deterioration. Look out for any sharp edges, broken boards, or other potential hazards. Make sure to repair or replace any broken or damaged materials.
- Check the nesting box for pests. Make sure to check the nesting box for any pests or parasites. Common pests include mites, lice, and fleas. If any pests are found, treat the nesting box and the surrounding area to eliminate them.
- Keep the nesting box dry. Proper ventilation is key to keeping the nesting box dry. Make sure to open the entrance hole to allow for fresh air to circulate and remove moisture. If the nesting box is too wet, it can lead to respiratory problems in your chickens.
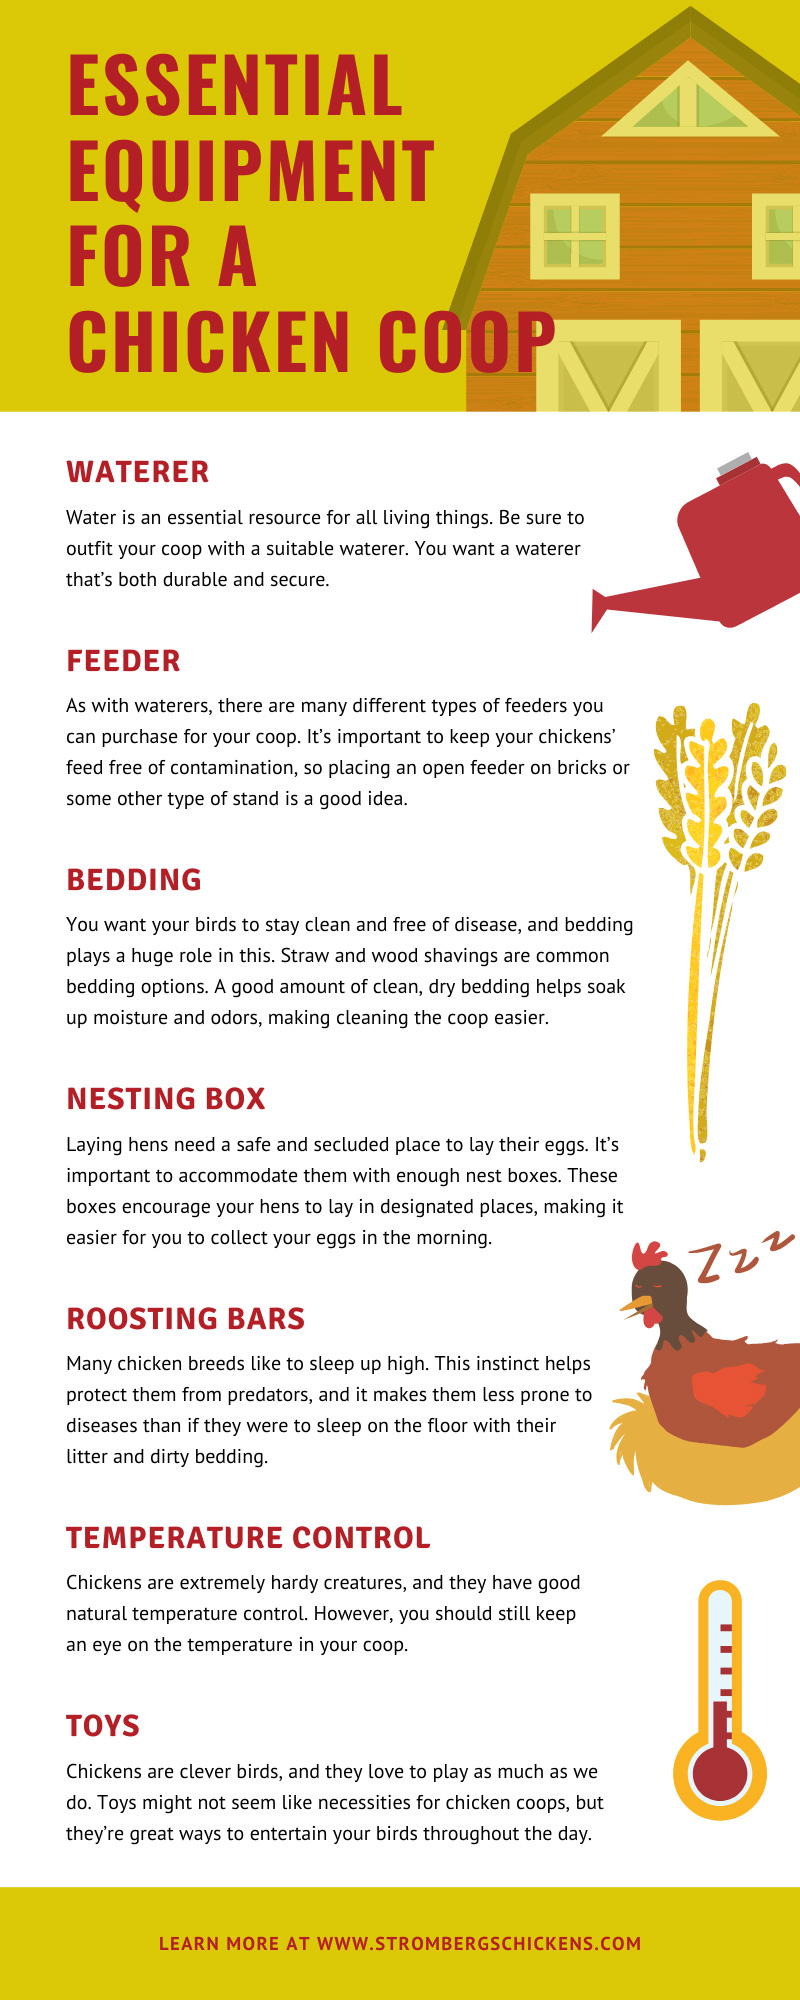
- Provide adequate bedding for the nesting box. Adequate bedding is essential for keeping the nesting box clean and comfortable for your chickens. Straw, wood shavings, and other materials can be used as bedding in the nesting box. Make sure to change out the bedding regularly to ensure a clean and healthy environment.
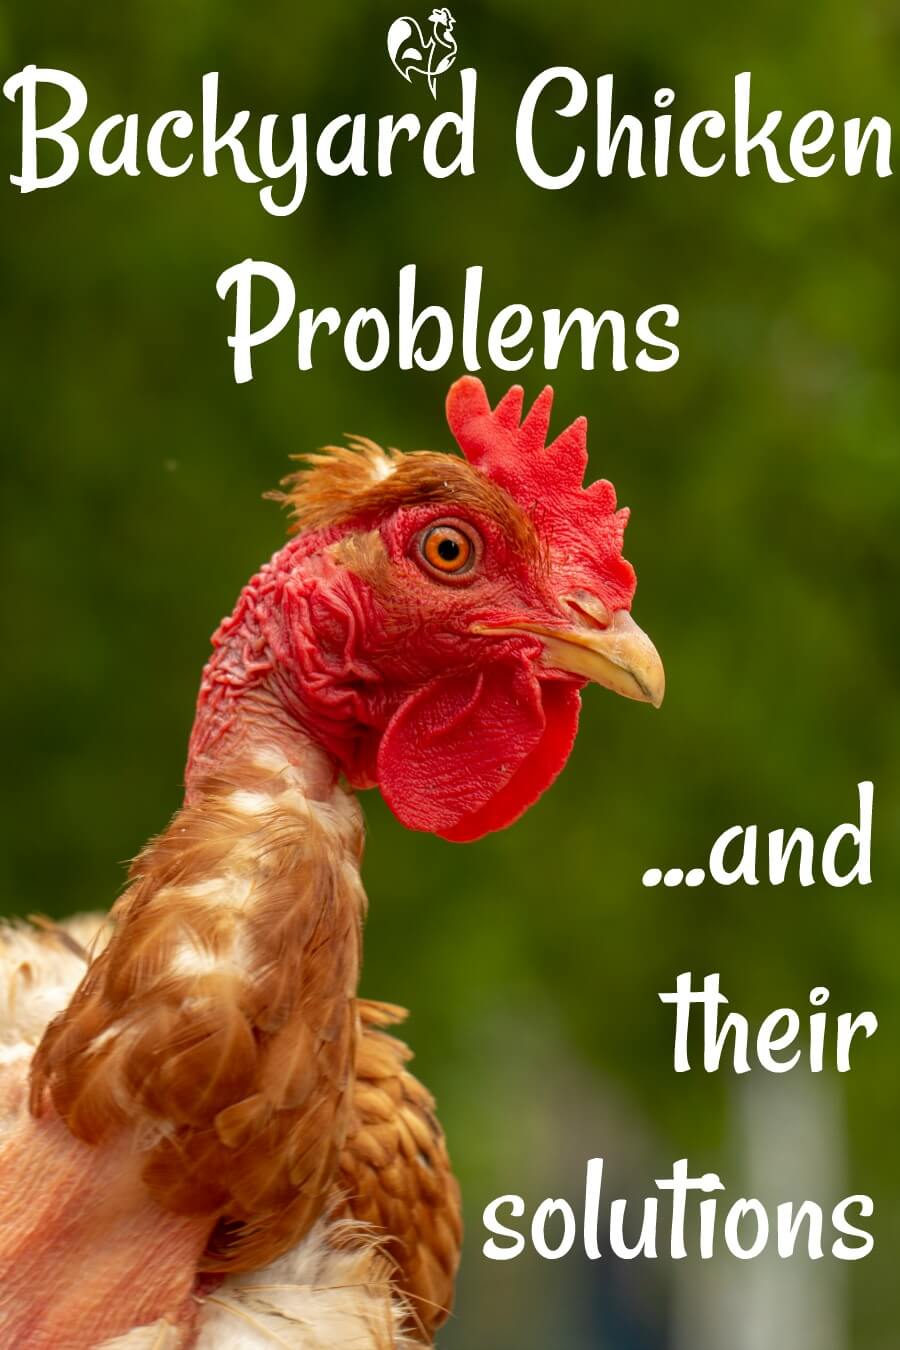
Troubleshooting
- Nest box not being used: Make sure the box is the correct size and is placed in the desired location. Consider adding nesting material, such as straw, to the interior of the box. If the box is too low or too high, chickens may not be comfortable using it.
- Nest box becoming wet: Make sure the box is properly waterproofed. Consider covering the box with a tarp or other waterproof material to keep it dry.
- Nest box becoming too hot: Move the box to a shadier location or add ventilation holes to the box. If possible, add insulation to the box to help keep it cool.
- Nest box becoming too cold: Move the box to a warmer location or add insulation to the box. Consider adding a heat source, such as a lamp or electric heater, to help keep the box warm.
Benefits of DIY Nest Boxes
Cost-Effective: Building a DIY nest box can be a very cost-effective solution for chicken husbandry. You can buy ready-made materials at most hardware stores or use recycled materials such as old boxes or crates. This can significantly reduce the cost of the overall project.
Easy to Build: DIY nest boxes can be relatively easy to build. With the right materials, instructions and tools, the process of building a nest box will be straightforward. Plus, the instructions can be tailored to suit your needs and preferences.
Flexible: DIY nest boxes offer more flexibility than commercially-made ones. They can be built to fit the needs of any chicken coop and can be adapted to fit your chickens’ specific requirements.
Customizable: DIY nest boxes can be customized to the specific needs of your chickens. With the right materials, you can create a nest box that is tailored to the exact dimensions of your chickens and the climate of your area.
Sustainable: DIY nest boxes can be a great way to reduce your carbon footprint. By using recycled materials, you can help reduce waste and create a more sustainable chicken husbandry solution.
Alternatives to DIY Nest Boxes
If you don’t have the time or resources to make a DIY nest box, there are a few alternatives to consider:
- Purchasing a pre-made nest box – There are many options available for purchase, and you can find them at local feed stores or online. They come in a variety of sizes and shapes, so you can find the one that best fits your needs.
- Using a plastic storage bin – Plastic storage bins can make great nest boxes, and they are easy to clean and move. They also provide ample space for chickens to lay eggs.
- Using a cardboard box – Cardboard boxes are also a great option for nest boxes. They are inexpensive and easy to assemble, and they provide plenty of room for egg-laying.
- Using hay bales – Hay bales are a great alternative to nest boxes, as they are easy to clean and provide good insulation. You can also add straw or hay to the bales to provide a softer, more comfortable surface for your chickens.
Frequently Asked Questions
What type of wood should I use to make a nest box?
It is best to use untreated, rough sawn lumber with few knots for nest boxes. Cedar and pine are two of the most popular types of wood for this purpose, as they are both naturally rot-resistant. Avoid using pressure-treated wood, as the chemicals in the wood may be toxic to chickens. Plywood should also be avoided, as the glues used to bind the layers together may contain formaldehyde, which is toxic to chickens.
How Much Space Should I Leave Between Each Nest Box?
When constructing nest boxes for chicken husbandry, it is important to ensure that there is adequate spacing between each box. A minimum of 12-15 inches of space should be allowed between each box to ensure that the chickens have enough room to move around in the coop and to prevent overcrowding. Furthermore, it is important to make sure that the nest boxes are positioned at a comfortable height for the chickens to enter and exit.
What is the Best Height for a Nest Box?
The ideal height for a nest box should be between 12-18 inches from the floor. Here are some other guidelines to consider when determining the best height for a nest box:
- The upper edge of the nest box should be at least 6 inches below the ceiling.
- The nest box should be placed in a corner or against a wall for added protection.
- The nest box should be placed low enough that the chicken can easily enter and exit.
- The nest box should be placed high enough that the chicken can stand on the floor and comfortably reach into the nest box.
- The nest box should be placed in a quiet, dark corner of the coop, away from drafts.
By following these guidelines, you can ensure that your chickens have a safe, comfortable place to lay their eggs.
How do I make sure the nest box is predator-proof?
To ensure the nest boxes are safe from predators, it is important to use materials such as heavy-gauge wire mesh, metal sheeting, or plywood. The box should be secured firmly to the wall and have a secure lid or door. Place wire mesh over any open areas such as windows or vents to prevent predators from entering. Additionally, use predator-proof latches and locks on any doors or lids.
How often should I clean the nest box for optimal hygienic conditions?
Nest boxes should be cleaned regularly to maintain optimal hygiene and prevent the spread of disease or parasites. It is recommended to clean the nest boxes at least once a month, or more frequently if necessary. Cleaning should involve removing any bedding, hay or straw and replacing it with fresh material, as well as disinfecting the interior of the box with an appropriate cleaner. Additionally, the nest boxes should be checked regularly to ensure they are in good condition and free of any pests or parasites.
Conclusion
Nest boxes are essential for successful chicken husbandry. Following this step-by-step guide, you can easily and quickly build your own chicken nest boxes. Additionally, you should ensure that the boxes are placed in the right location, are cleaned regularly, and have sufficient bedding for the chickens. With the right nest box, you can ensure better housing and health for your chickens.
References
- University of Florida Institute of Food and Agricultural Sciences. (2021). Backyard Chicken Coops and Nest Boxes. Retrieved June 1, 2021, from edis.ifas.ufl.edu website.
- University of Illinois Extension. (2020). Chicken Coops and Nest Boxes. Retrieved June 1, 2021, from extension.illinois.edu website.
- USDA. (2021). Poultry Nest Box Design and Management Fact Sheet. Retrieved June 1, 2021, from www.aphis.usda.gov/animal_welfare/downloads/AnimalCare/ website.